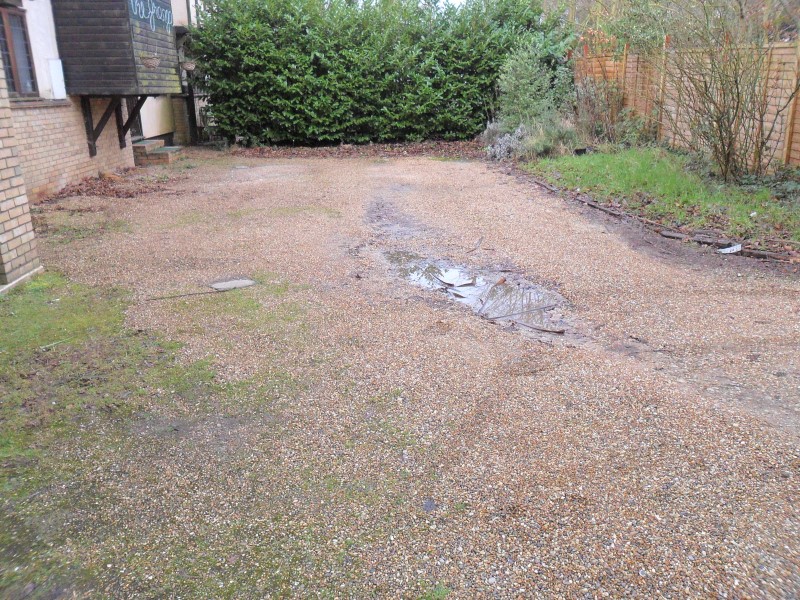
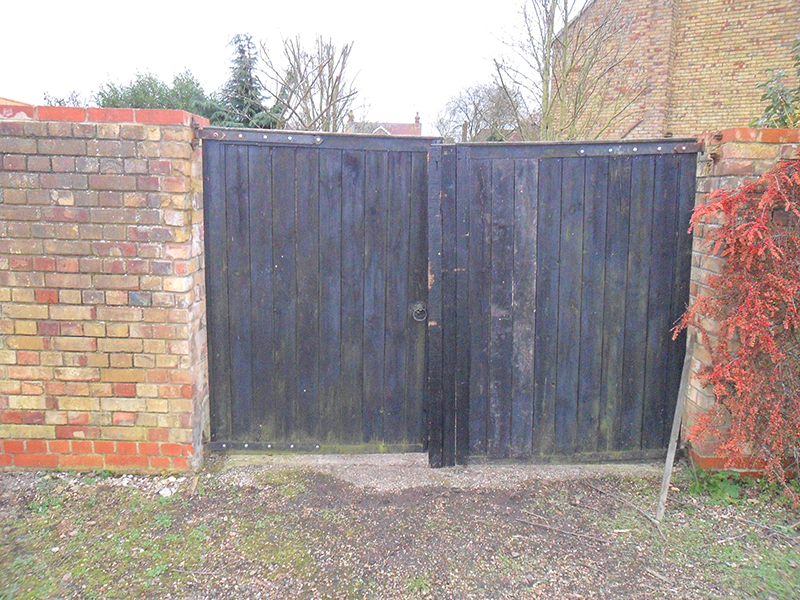
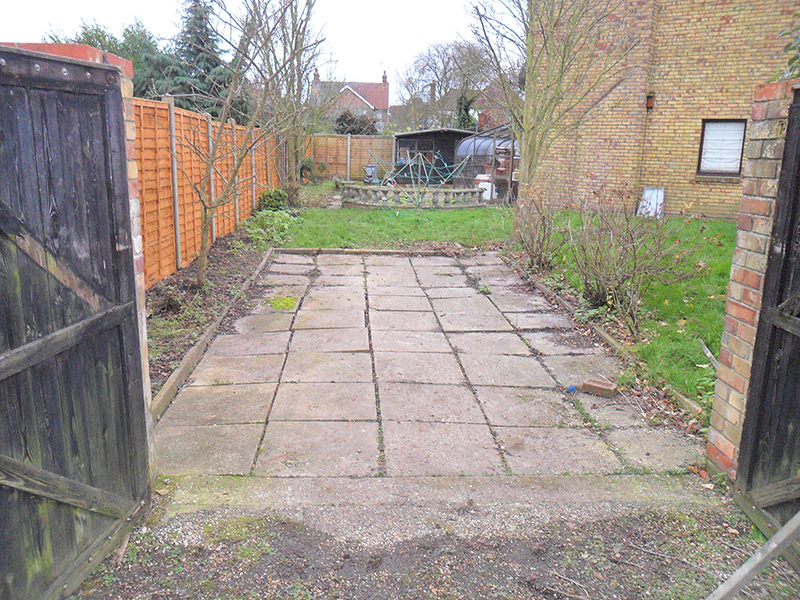
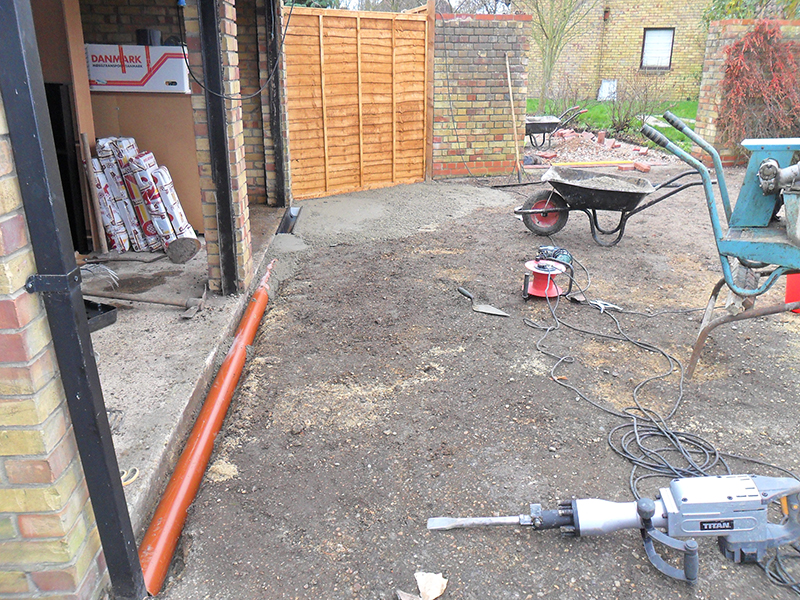


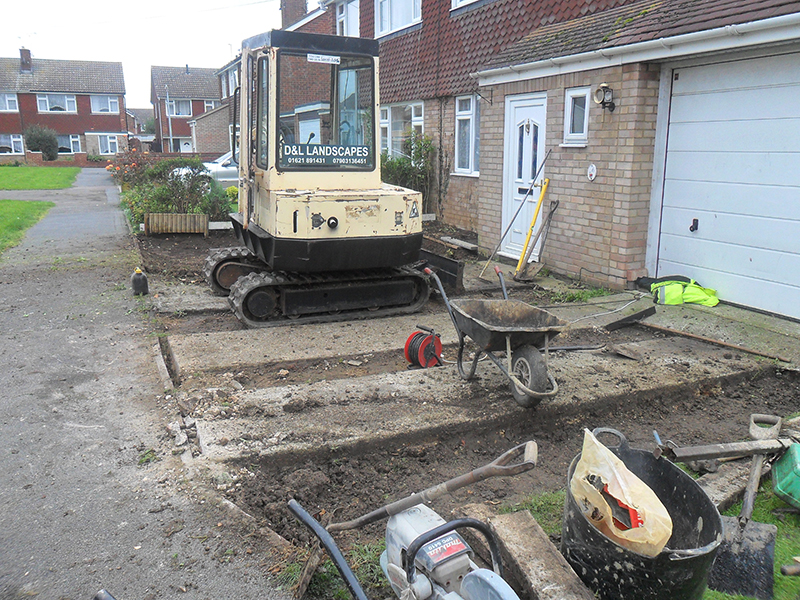
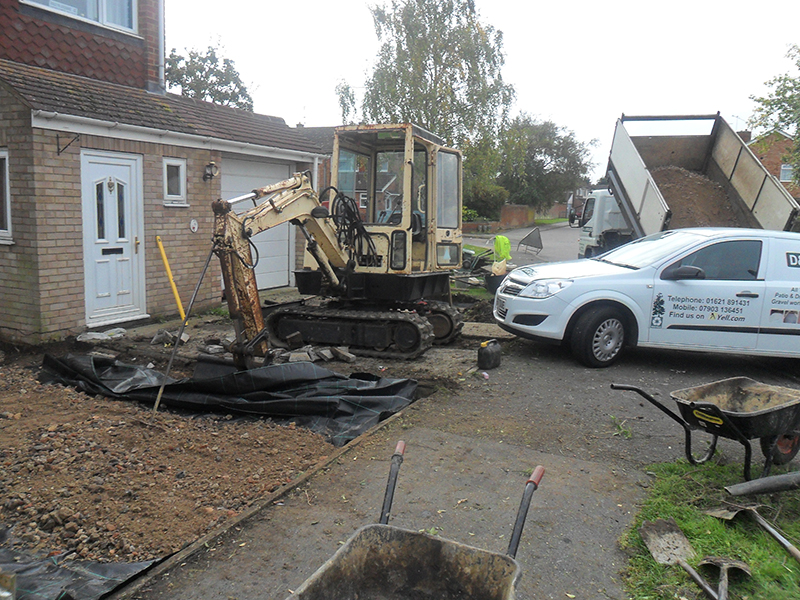

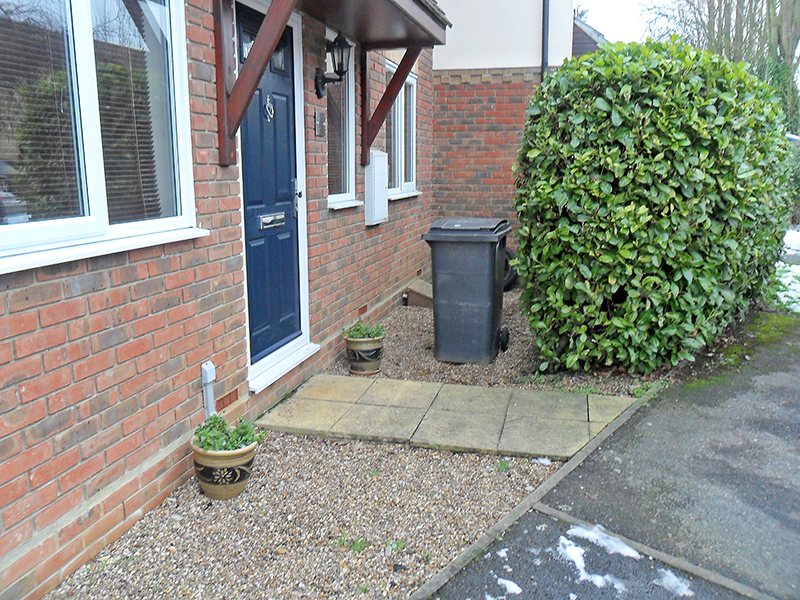
Stage 1: Before job, need to remove hedge, old gravel and slabs.
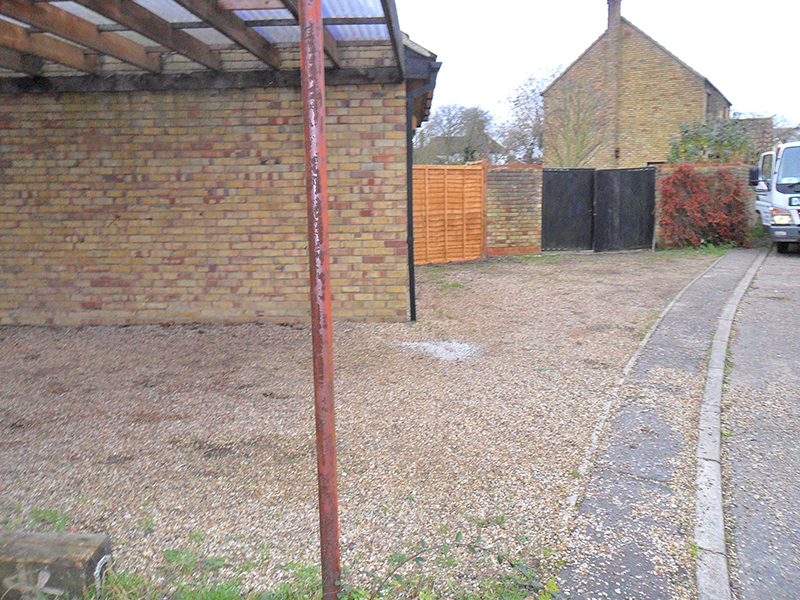
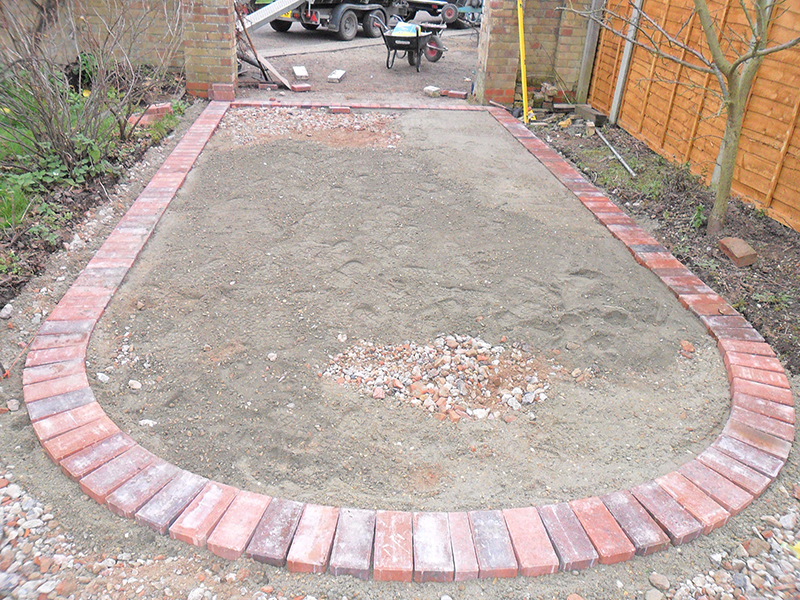
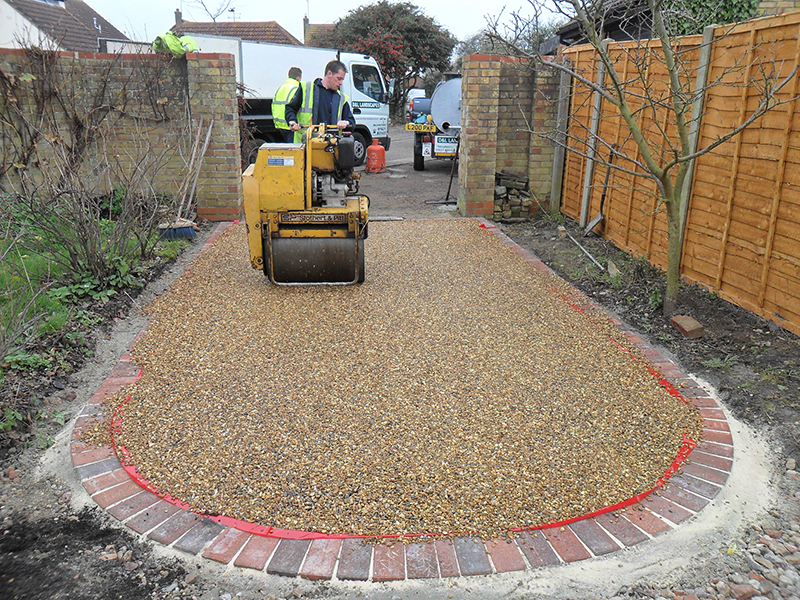
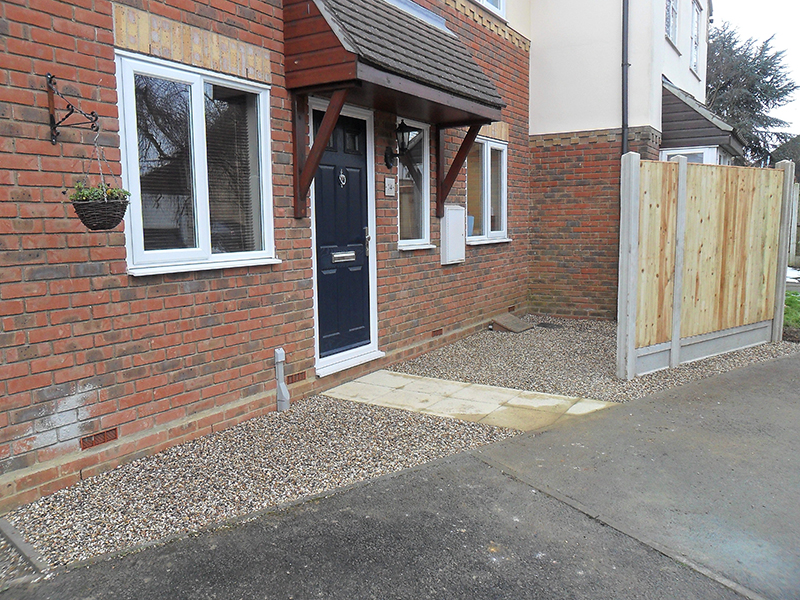
Stage 2: After removal of old garden rubble and waste, we installed new paving slabs and replaced old gravel using 10mm washed pea shingle over a weed protective membrane.

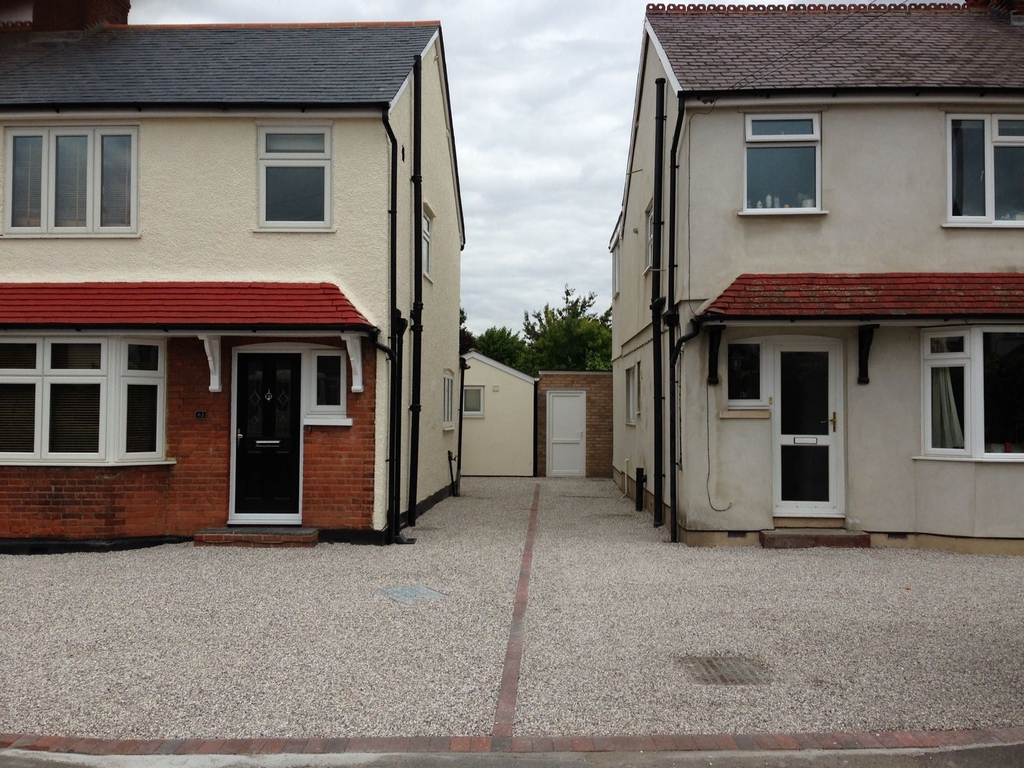
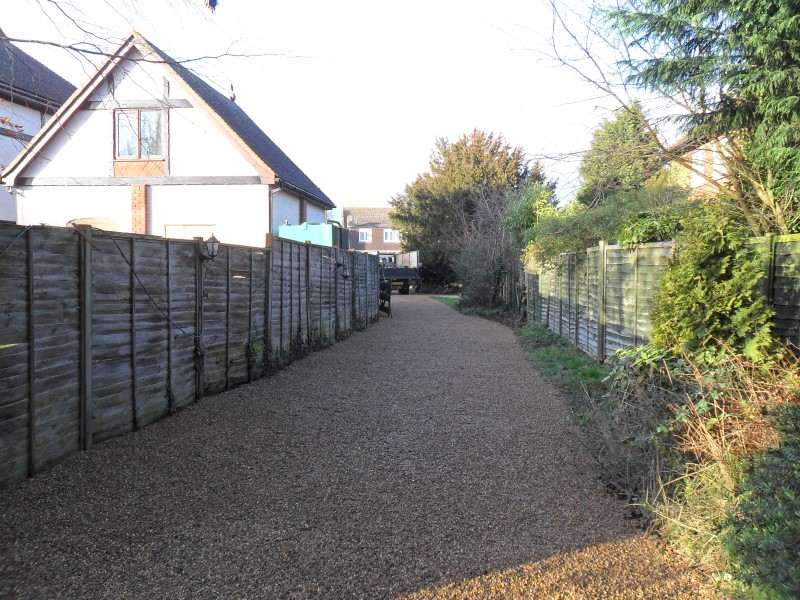
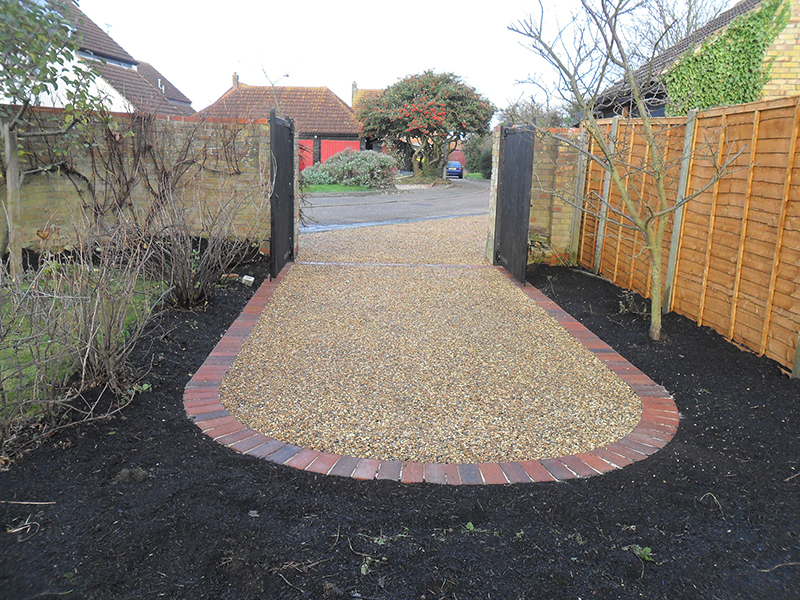
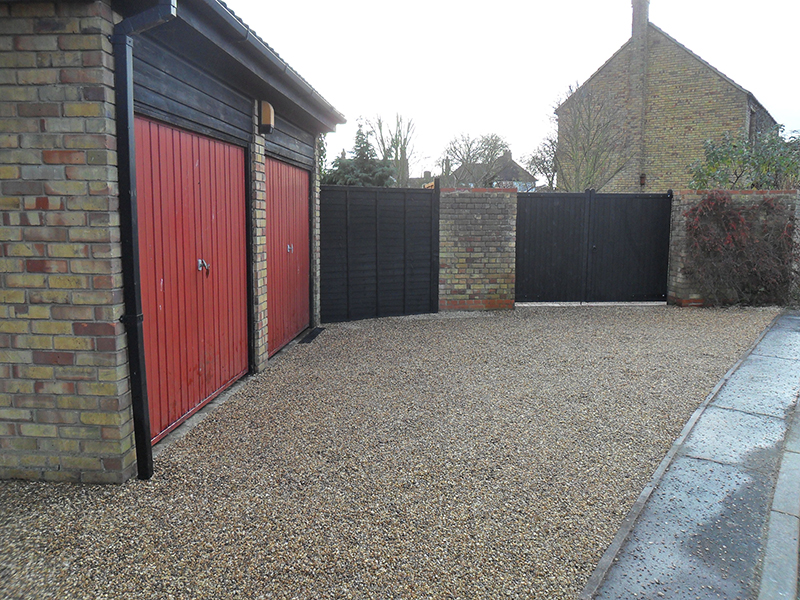
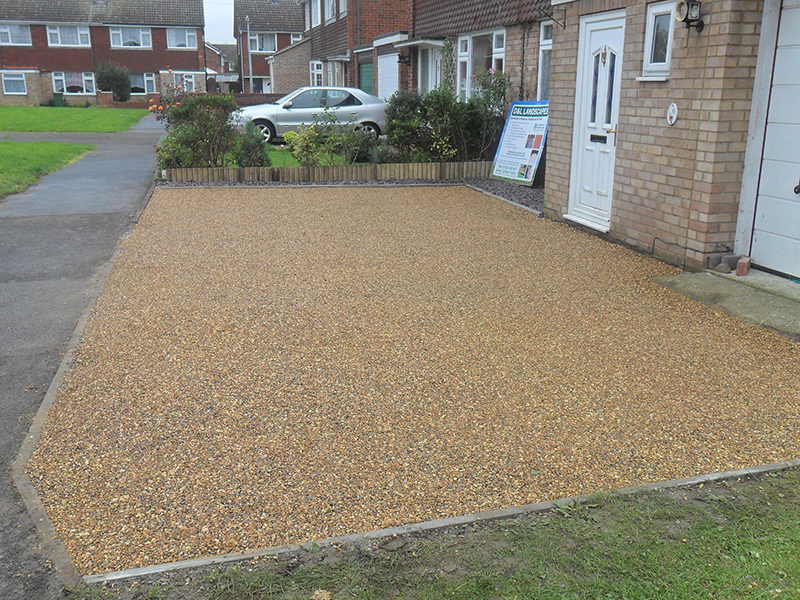
Stage 3: Job completion of new fence with gravel front garden and paving slab pathway.
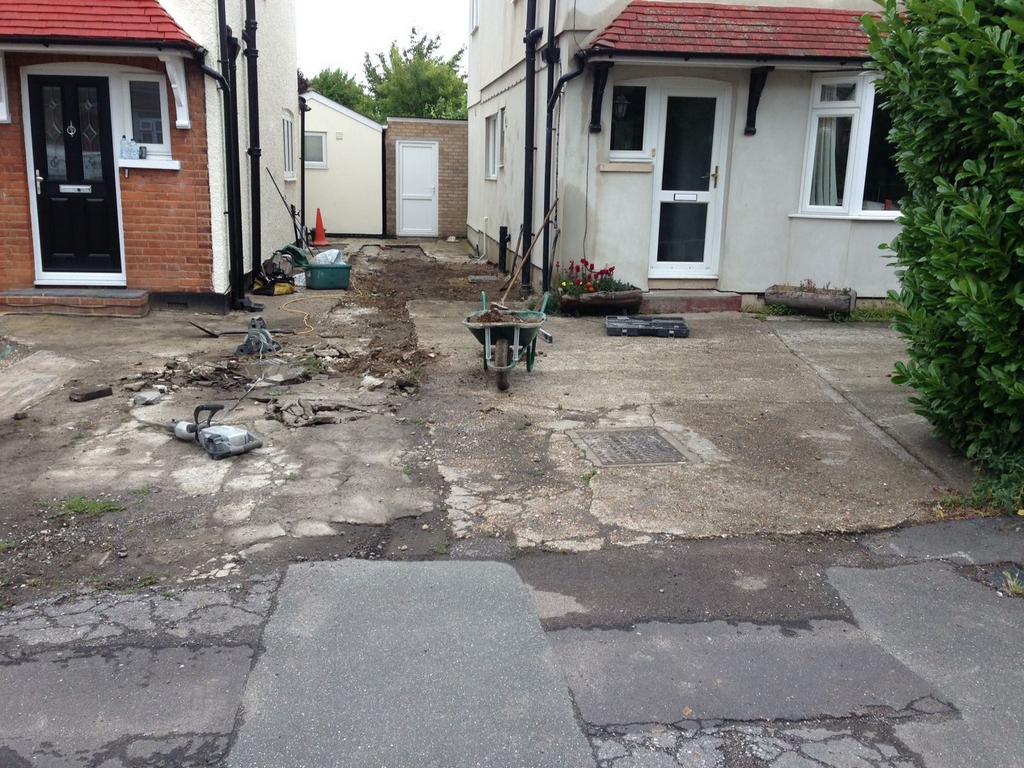
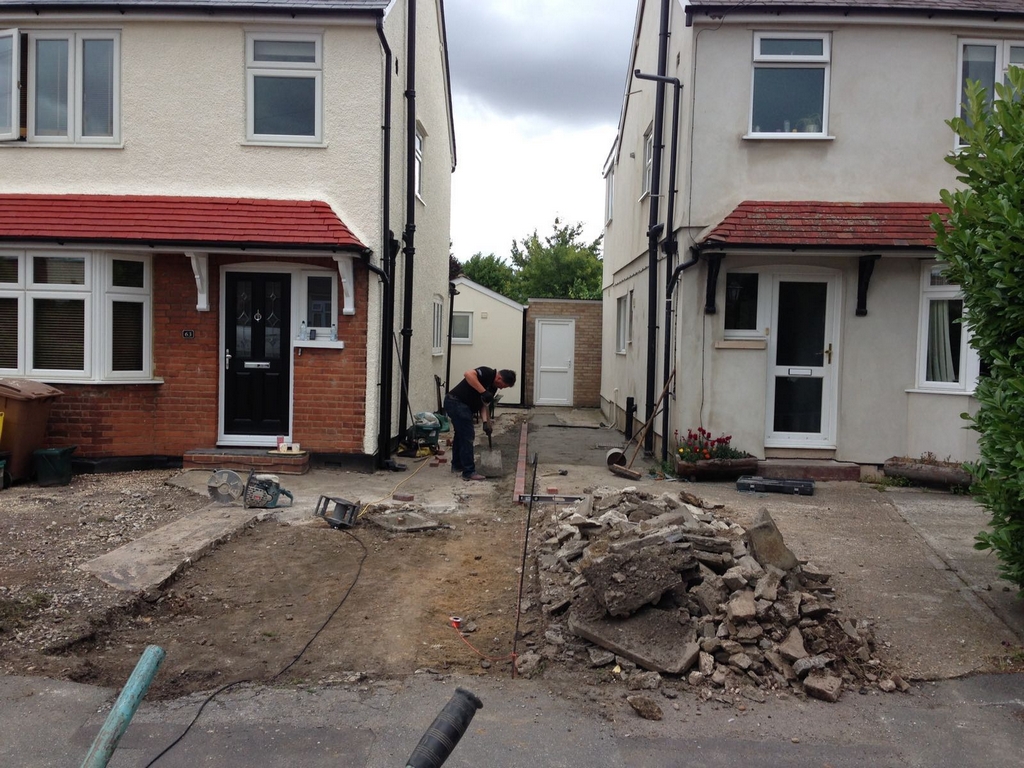
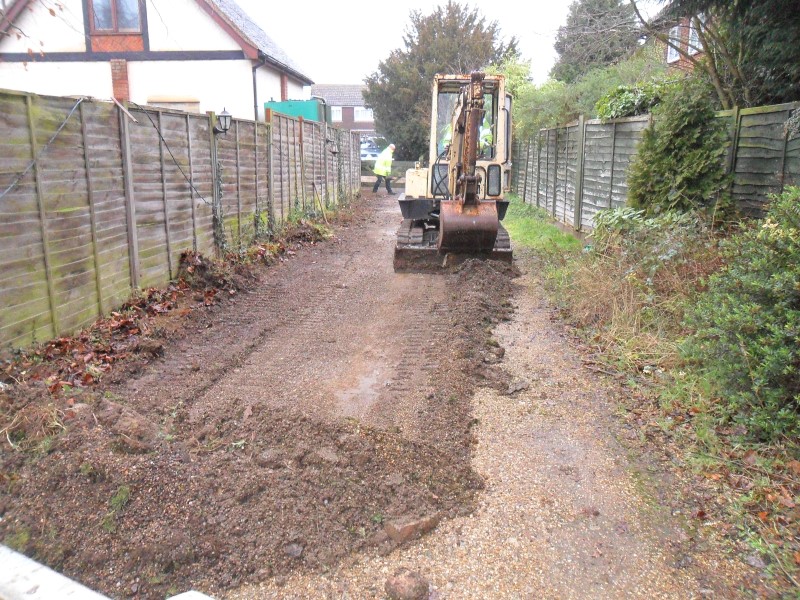
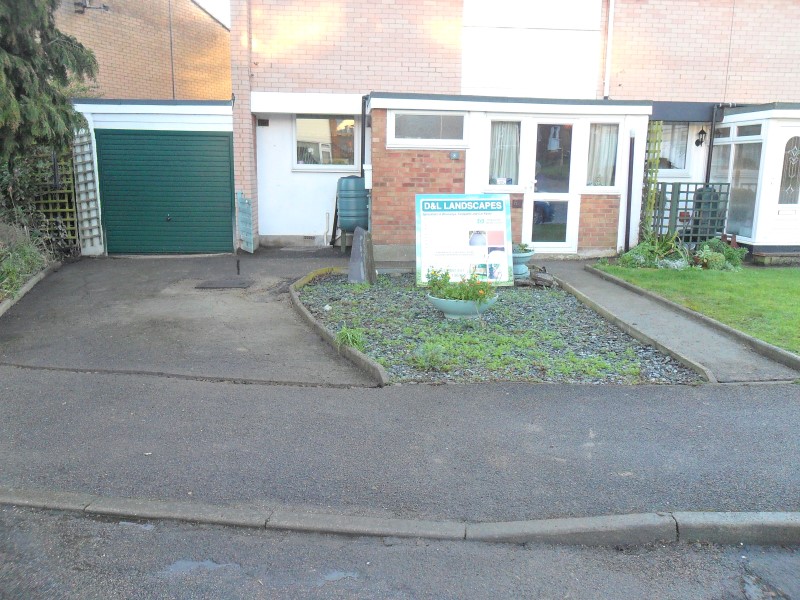
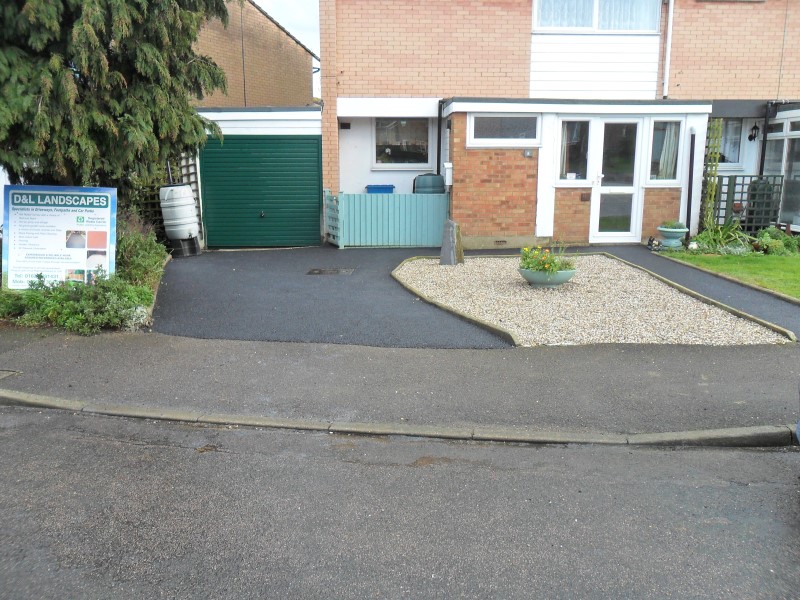
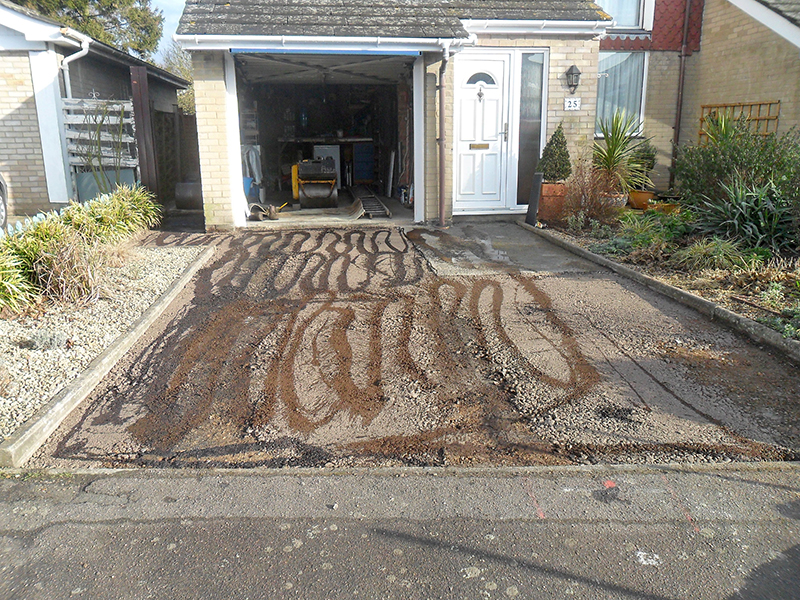
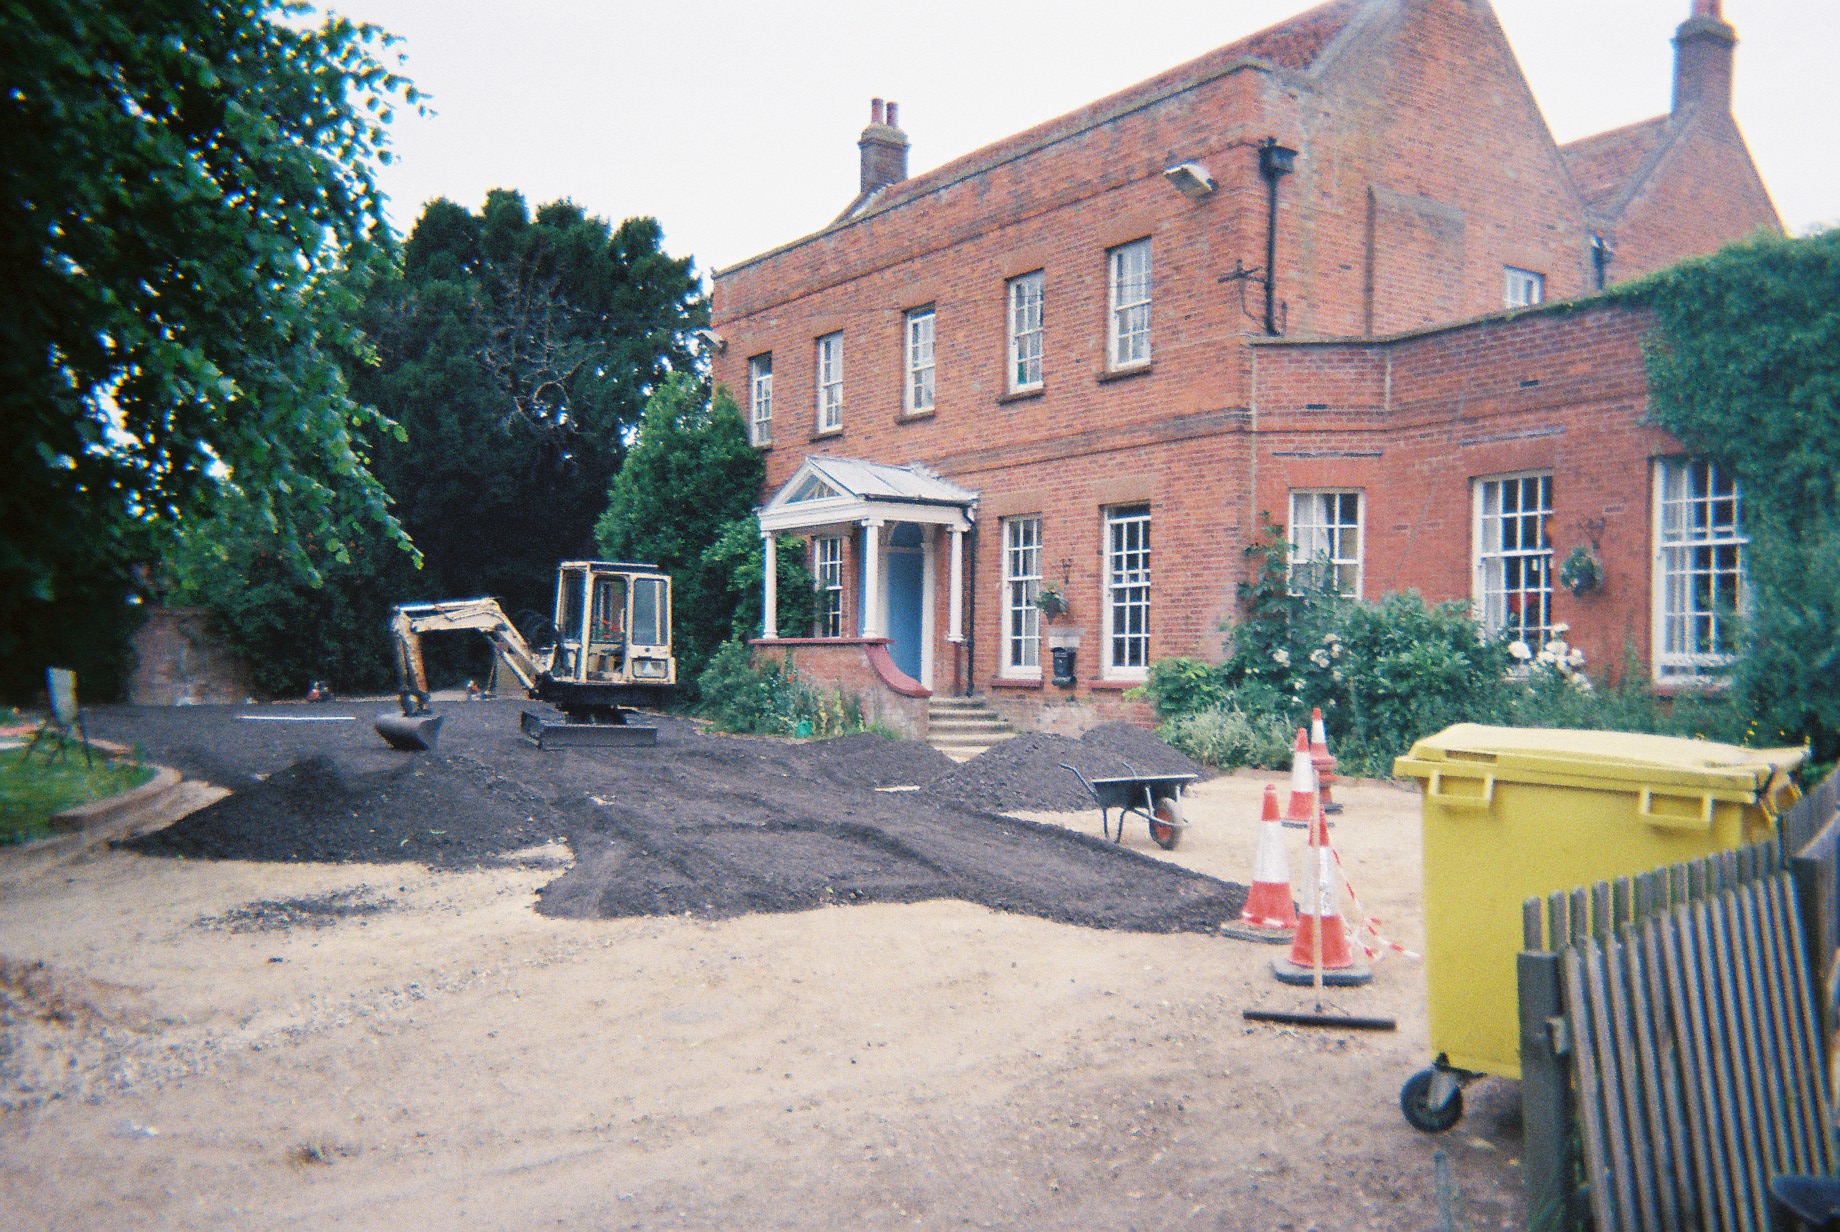
Stage 1: Removed old tarmac. Prepping of driveway for resurface project.
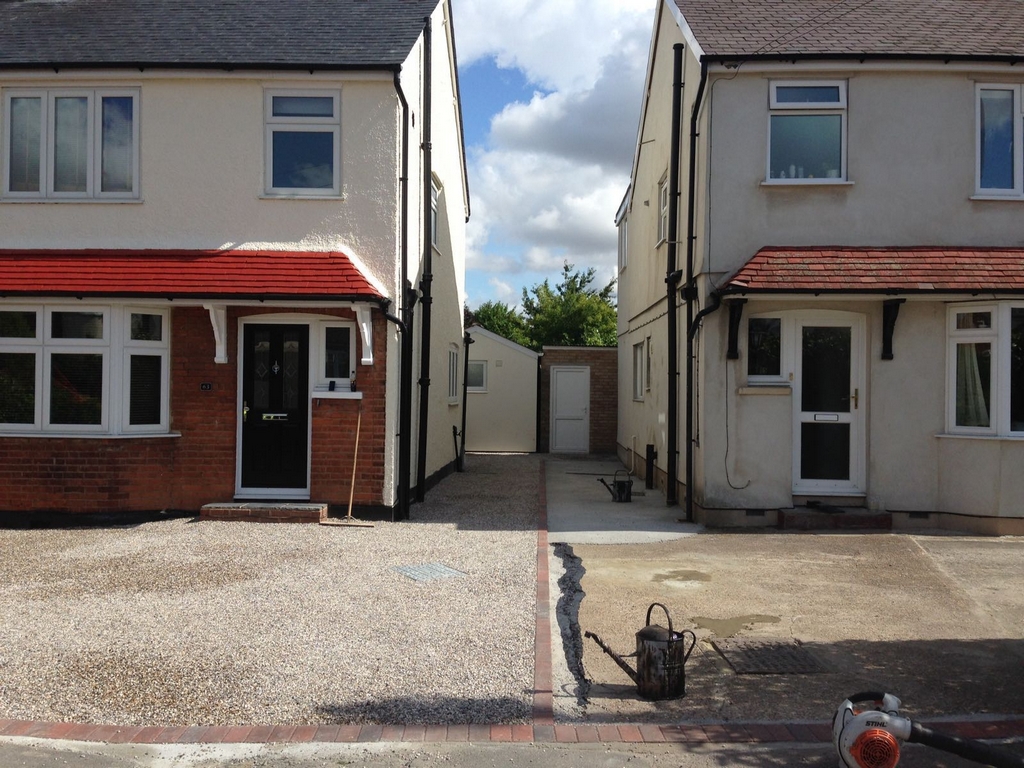
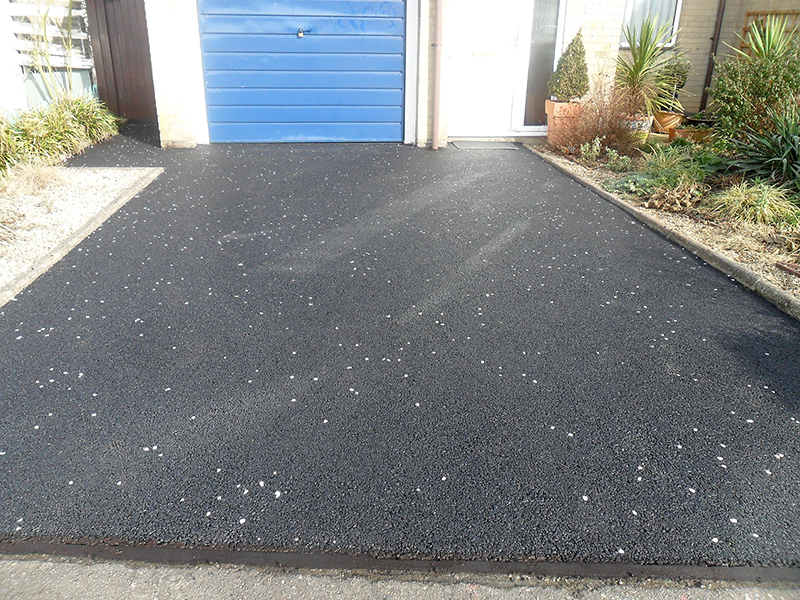
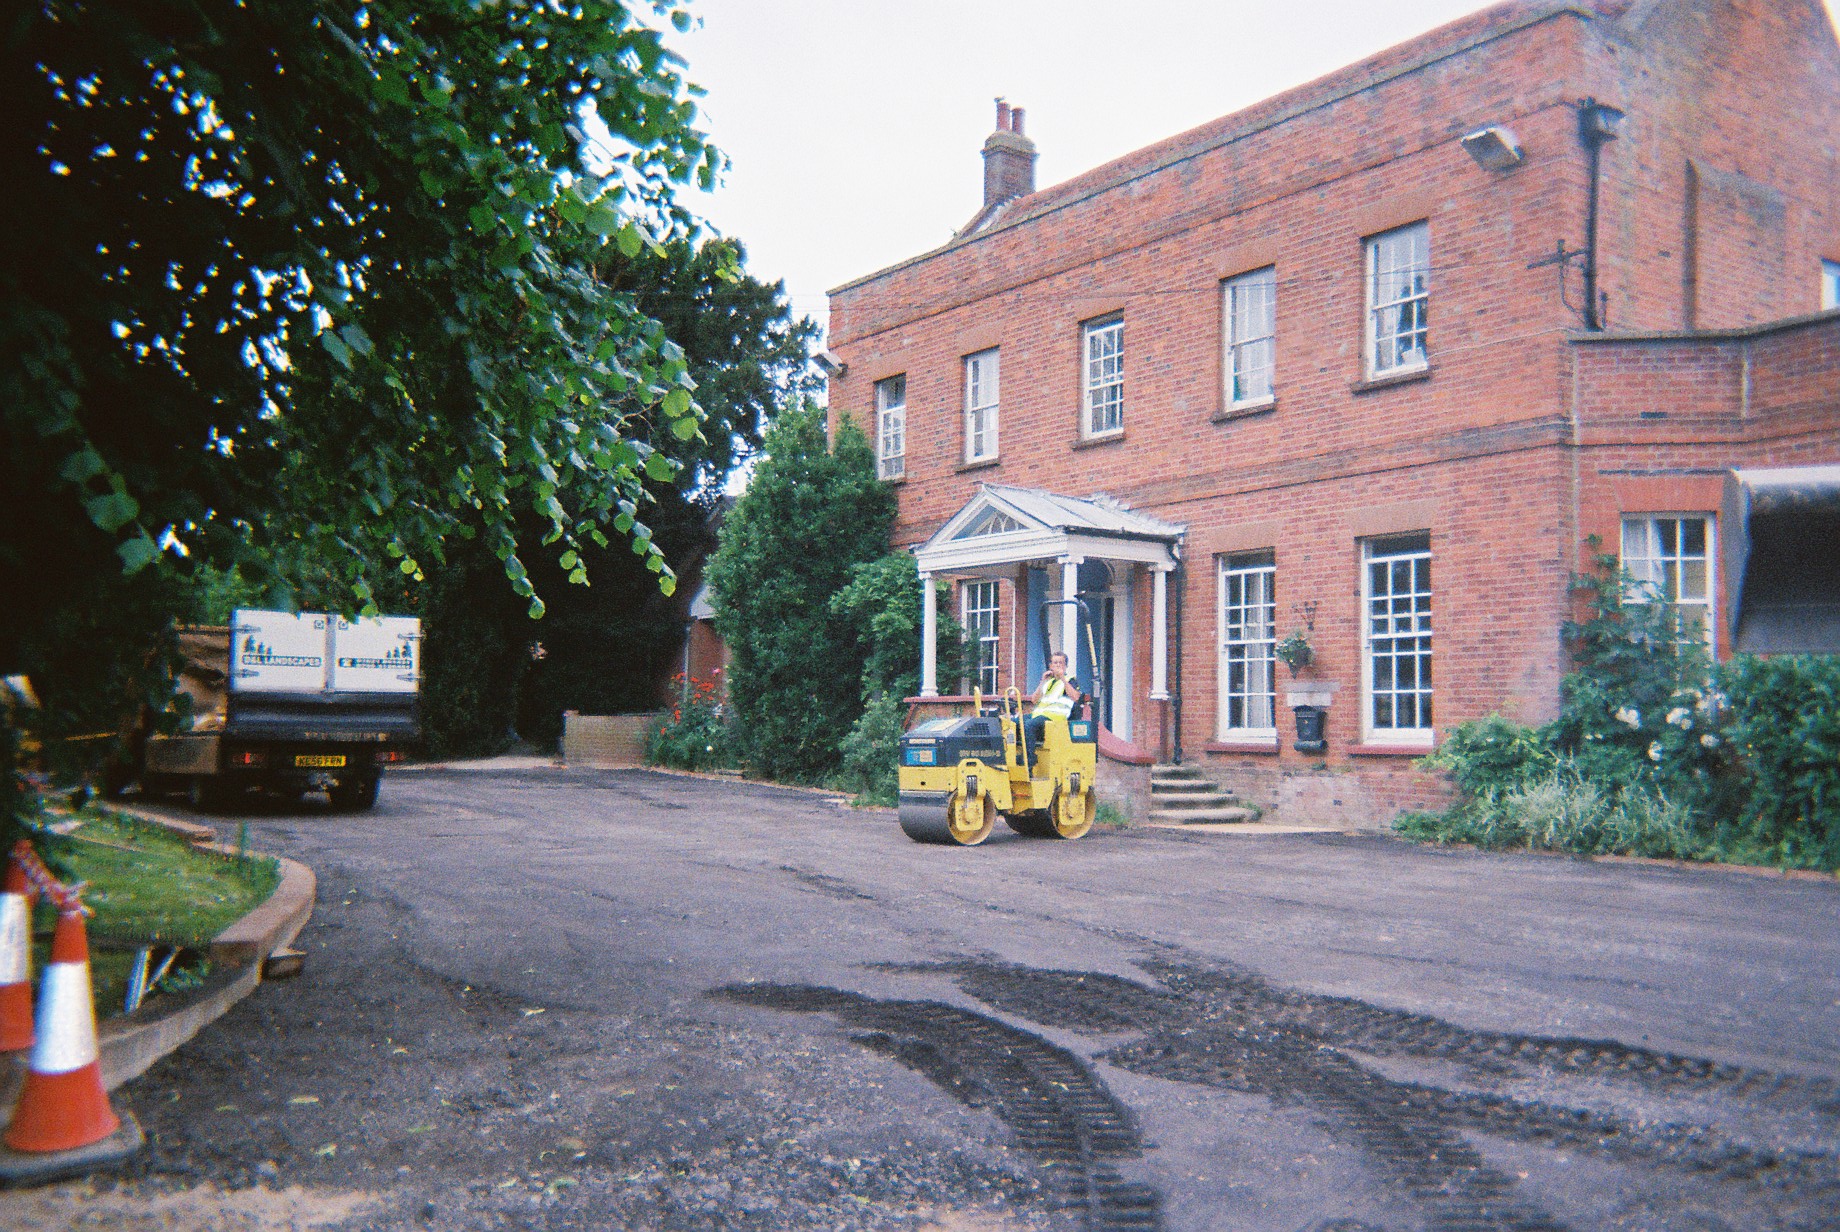
Stage 2: Resurfaced drive with new tarmacadam incorporating white granite chippings.
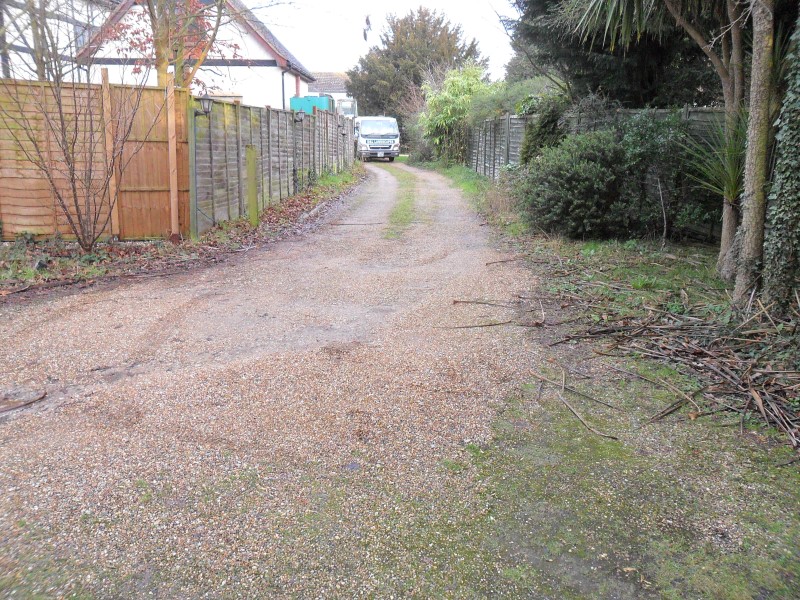
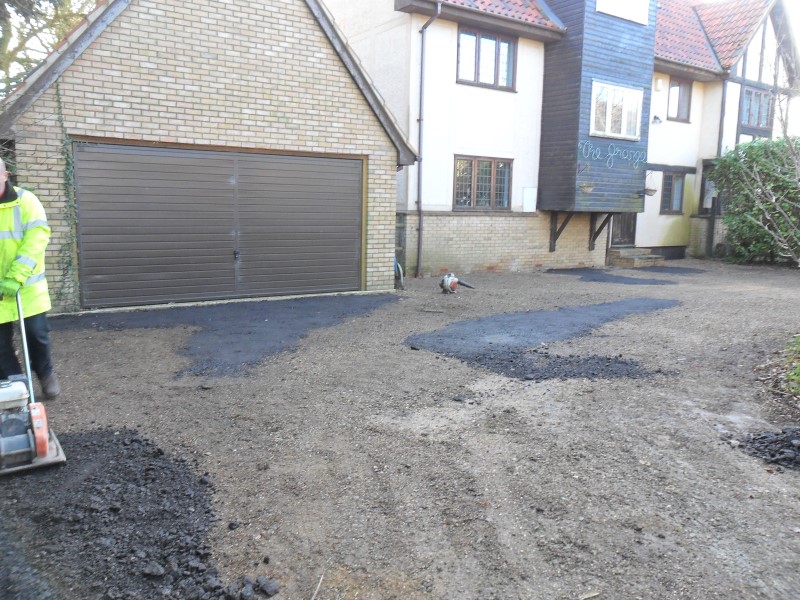
Stage 1: Cleaning all loose surfacing and removing all debris and weeds.

Stage 2: Laying 6 inch base course.
Stage 3: Machine rolling the base course readying for top coating.
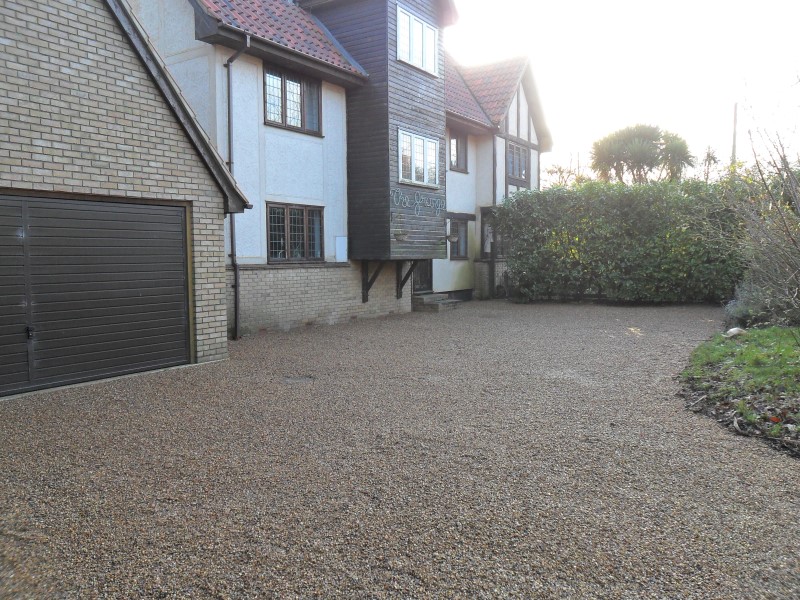
Stage 4: Laying hot bitumen tar and embedding the pea shingle.

Stage 5: Completed car park project for the use of light and heavy vehicles.